一開始不清楚 MCP 的具體用途,以為它只是讓企業把自己的資料打包給 AI 後提供服務。後來才發現 MCP 的本質其實是一個協定。
MCP(Model Context Protocol)是一種 protocol,讓 AI model 能透過這個協定與其他 model 或系統進行交互。核心依然是 API,只是這組 API 是「給 AI 用的」,讓 AI 能理解你的產品程式該怎麼操作,進而在理解你的意圖後,做出有目的性的動作,而不是依靠猜測。
換句話說,MCP 不是 API 的替代品,它是 API 的「語義映射層」,MCP 是把「無法讓 AI 理解的 API」→ 轉成「AI 可以語義推理的功能模組」。重點不是 API 本身,而是 AI 能自然語言推理什麼時候、怎樣、以什麼參數呼叫 API。MCP 是行為層,不是資料層。資料只是行為的一部份輸入。
MCP 的想像空間非常大,它本質上是一個能快速替 AI 加上任務能力的「軍火庫」(MCP = LLM 的動作介面(Action Interface)。
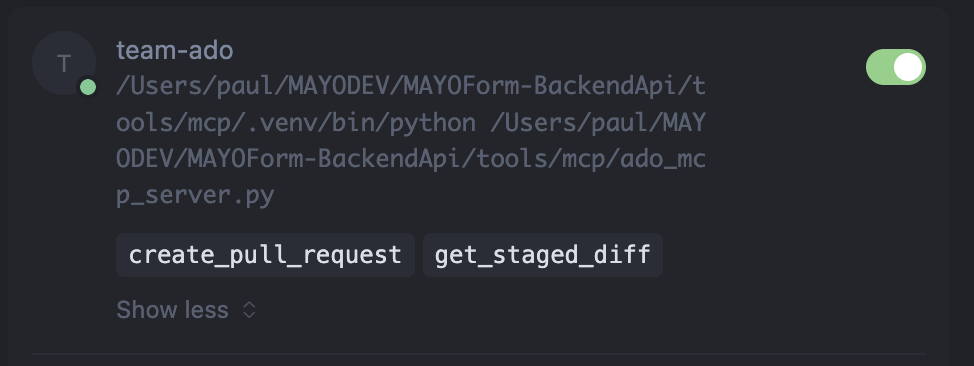
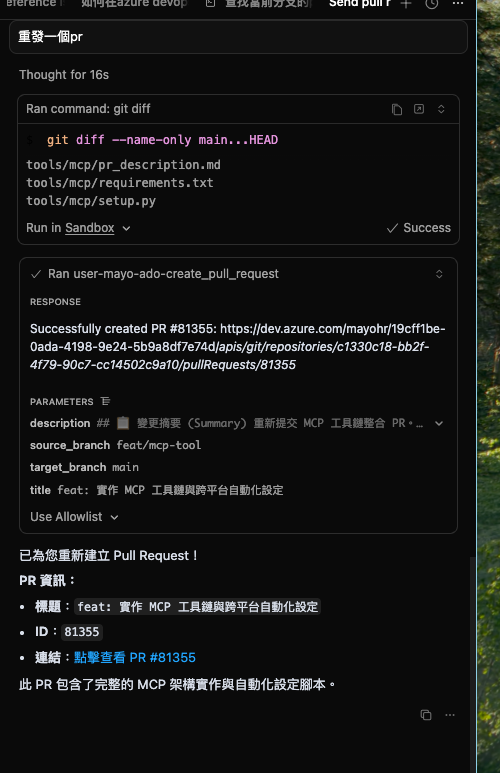
對 RD 團隊而言,如果我們用 MCP 讓 AI 能操作 Azure DevOps 發 PR,能大幅簡化開發流程;在 IDE 的 AI 客戶端輸入一句「幫我發 PR」,AI 會讀 MCP 裡的能力、理解你的意圖,並直接使用對應 API,而不是只停留在建議或指示層級,也不再侷限於本機工作區。
再往前一步,當 MCP 整合 JIRA,而 JIRA 的 MCP 內又包含完整的登入與授權 API,使得 AI 在需要權限時能主動走授權流程。這能進一步降低人工干預,讓我們專注於與 AI 溝通意圖,由 LLM 自動把這些意圖轉成 MCP API 的操作序列。
以產品團隊角度來看,你可以將產品/domain 的 API 以 MCP 打包。AI 理解後,就能組合出你需要的 SOP,自動運用你的產品能力。MCP 在本地端能運作後,從團隊、產品到公司層級,都可以逐步規劃對應的 MCP。
例如:
當我們為表單產品建立 MCP,AI 就能透過對話自動發出正確的權限申請單,甚至能直接幫你填單。簽核清單也能在 AI 操作流程中自動取得並串接。你可以用 LLM 來串接任何你想整合的產品服務。
這次體驗後,MCP 的價值不只是在開發 IDE 的便利性,它更是所有生成式 AI Chat 「實務應用化」的核心框架。有心人士或許真的可以善用它來改善跟AI之間的關係與互動。
Given two sorted arrays nums1 and nums2 of size m and n respectively, return the median of the two sorted arrays.
The overall run time complexity should be O(log (m+n)).
Example 1:
Input: nums1 = [1,3], nums2 = [2]
Output: 2.00000
Explanation: merged array = [1,2,3] and median is 2.
Example 2:
Input: nums1 = [1,2], nums2 = [3,4]
Output: 2.50000
Explanation: merged array = [1,2,3,4] and median is (2 + 3) / 2 = 2.5.
Constraints:
nums1.length == m
nums2.length == n
0 <= m <= 1000
0 <= n <= 1000
1 <= m + n <= 2000
-106 <= nums1[i], nums2[i] <= 106
直覺寫法
public class Solution {
    public double FindMedianSortedArrays(int[] nums1, int[] nums2) {
                var merged = nums1.Concat(nums2);

        var mergedArray = merged.OrderBy(a => a).ToArray();

        if (mergedArray.Length % 2 > 0)
        {
            var median = mergedArray[(mergedArray.Length - 1) / 2];
            return median;
        }
        else
        {
            var medianFirst = mergedArray[((mergedArray.Length) / 2)-1];
            var medianLast = mergedArray[((mergedArray.Length) / 2)];
            return ((double)medianFirst + (double)medianLast) / 2;
        }
    }
}
結果就這樣過了,到底為什麼是Hard?
看了某些人也是這樣寫 Complexity: Time complexity: The time complexity is dominated by the sorting operation, which takes O(N log N) time, where N is the total number of elements in nums1 and nums2. Space complexity: The space complexity is determined by the size of the combined list nums, which is O(N), where N is the total number of elements in nums1 and nums2.